# Extract UI Elements
Call a vision model on a scene screenshot to extract UI elements into one sprite bitmap.
## TL;DR: 3 steps
Extract UI Elements fits a concrete game-scene screenshot when the goal is to pull UI pieces into one sprite bitmap via a vision model. It is a poor fit when region count and boundaries must be exact: results stay approximate and depend on the chosen model.
**Extract UI Elements** runs model-based UI extraction on the current image. No prompt is required; the flow is driven from the UI.
## Step 1: Select the feature from the menu
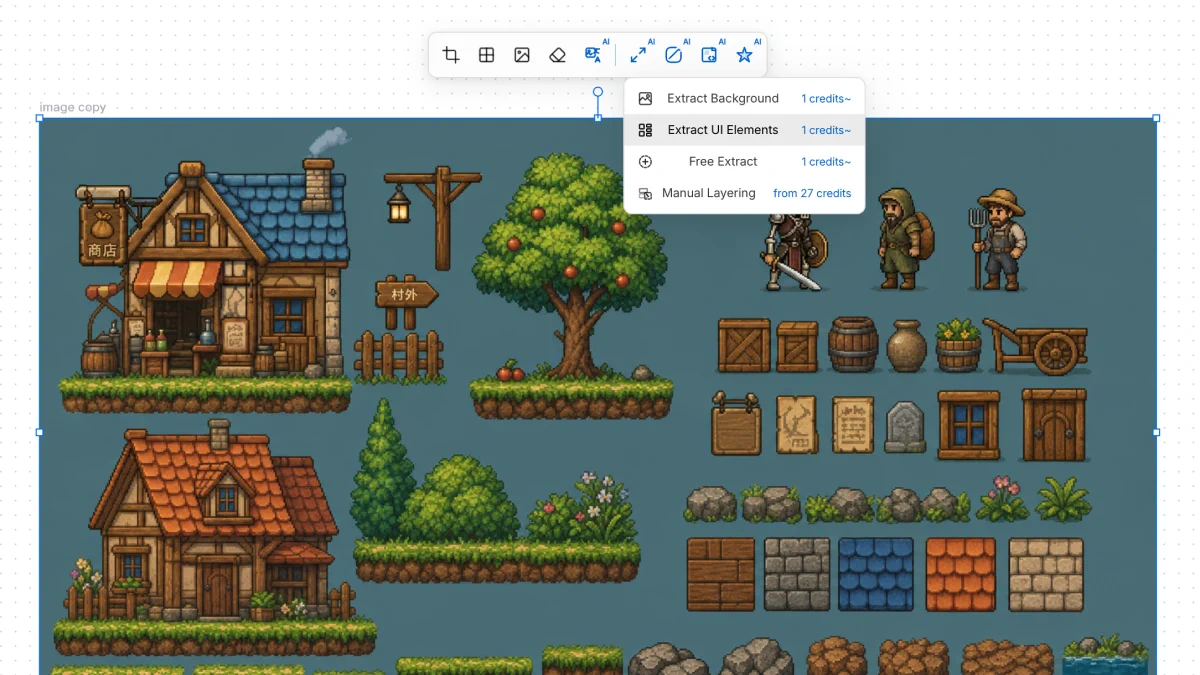
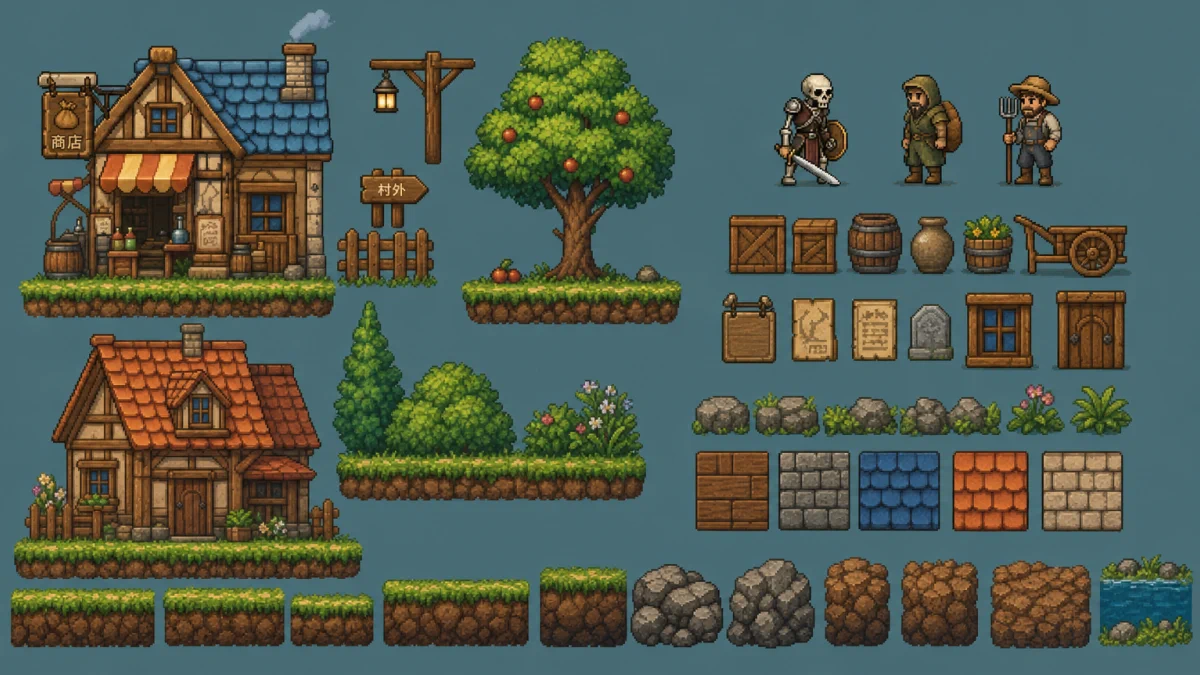
Start from a scene or sprite capture before extraction. The example below is the source image used in this walkthrough.
With the target image selected, open **AI tools**, then **AI Extract**, and choose **Extract elements**.
## Step 2: Set the model and parameters
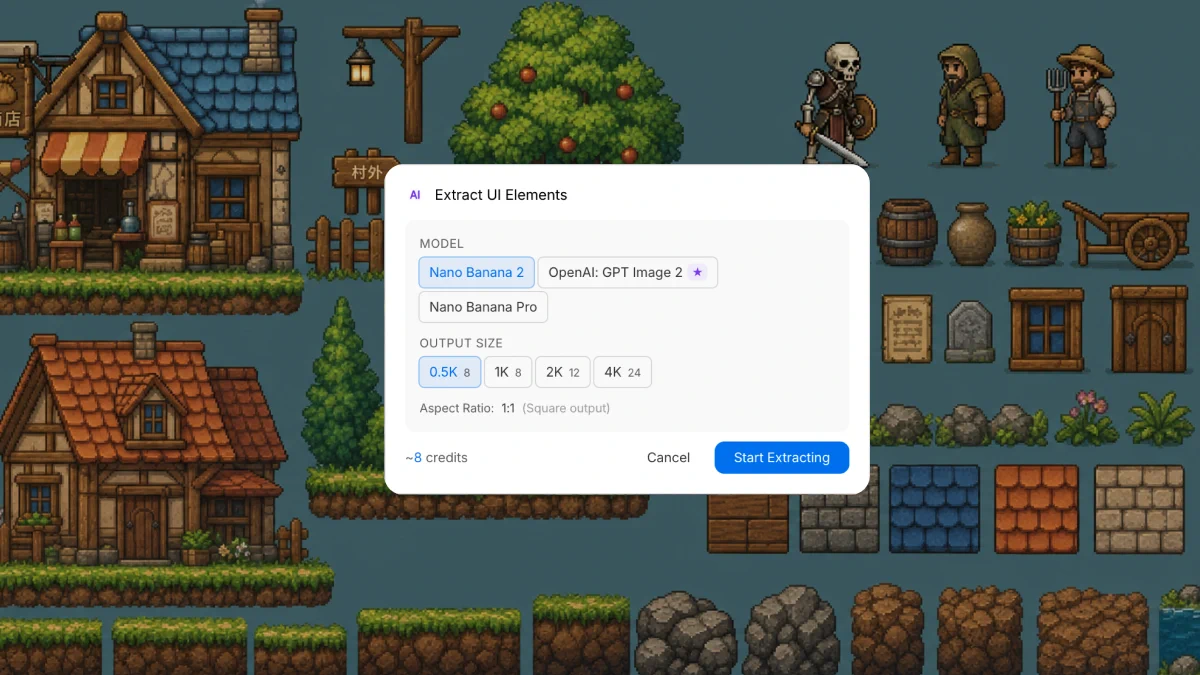
In the dialog, pick the model and output size. Supported options include GPT Image 2, Nano Banana / Nano Banana 2, and Nano Banana Pro. Larger sizes tend to yield more items and more variety in the extraction.
Use this shot only as a reference for the click-through entry. Latest product screenshot as of 2026-09-03.
## Step 3: Check the extraction result
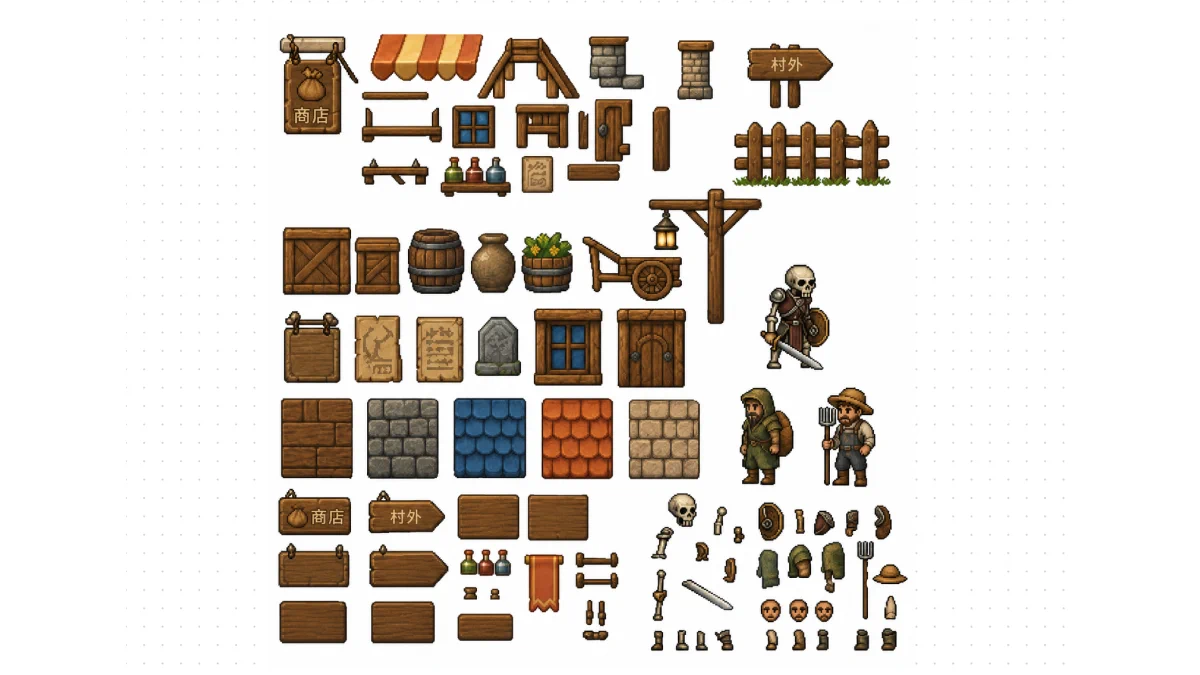
After generation, review the assembled sprite. The current output is a **non-transparent** bitmap layer; cleanup is usually needed before feeding it into later steps.
Result with GPT Image 2, Output Size 1K.
## Better fit: bitmap to sprite sheet
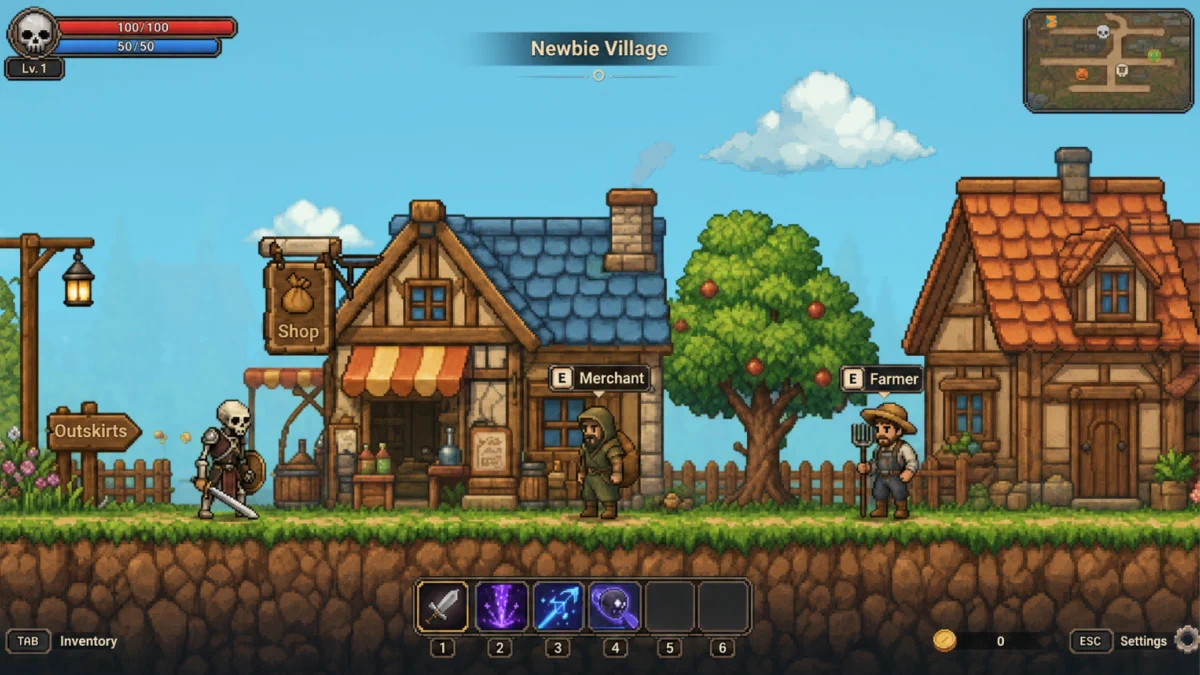
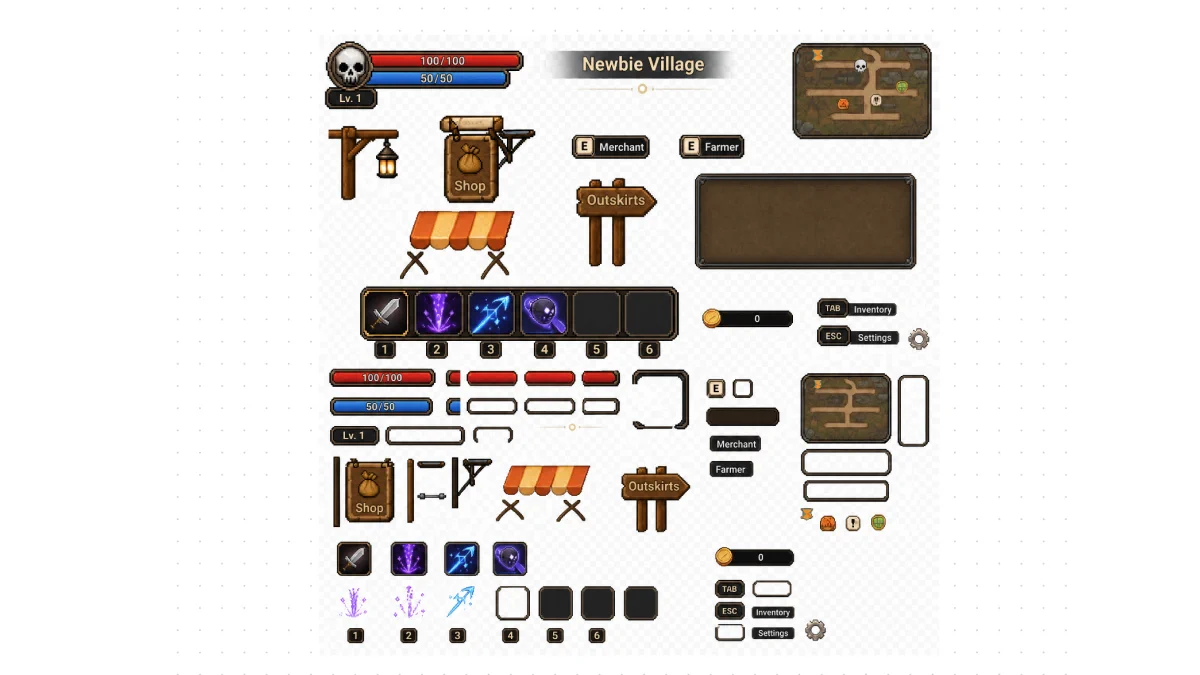
A UI-dense single bitmap is a stronger scene for Extract UI Elements than the walkthrough above. The model pulls discrete controls and panels from one source image into a single sprite map; coverage and boundaries here are richer and more precise than the Step 3 demo.
Source: one UI-dense bitmap.Output sprite sheet with GPT Image 2, Output Size 1K.