PNG to PSD
Turn a single-PNG game UI into a layered Photoshop file: Auto Layering, then Export to Photoshop PSD.
TL;DR: 3 steps
PNG to PSD fits a game UI that only exists as one flattened PNG—a HUD, a screen capture, a board that was never layered—and needs Photoshop again. Run Auto Layering so named pieces come from detected edges, then Export to Photoshop PSD. The .psd keeps those pieces as separate graphic and text layers. The same path works when many screens share that one-PNG starting point.
Step 1: Auto Layering
Open the PNG in VberAI Studio and select the board (for example cat_journey_UI). On the selection toolbar, open the overlapping-layers control and choose Auto-Layering.
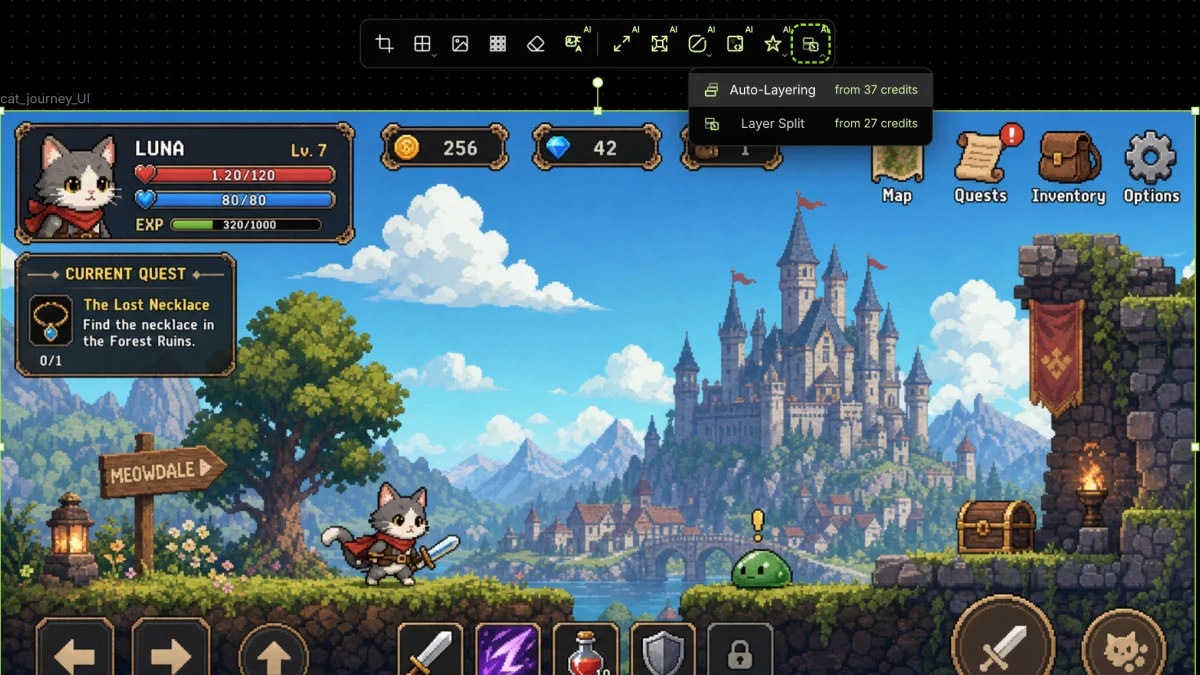
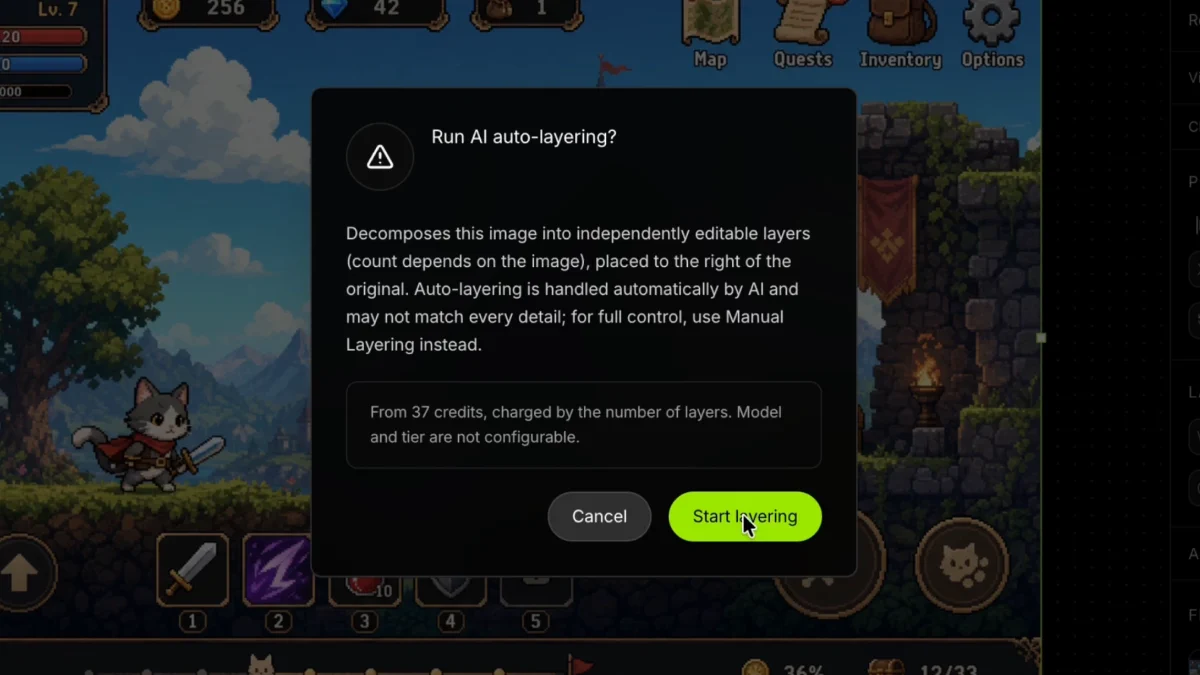
Confirm Run AI auto-layering? then Start layering.
Named bounds land on the plate: the sliced, named images are ready. Details for this pass are on Auto Layering.
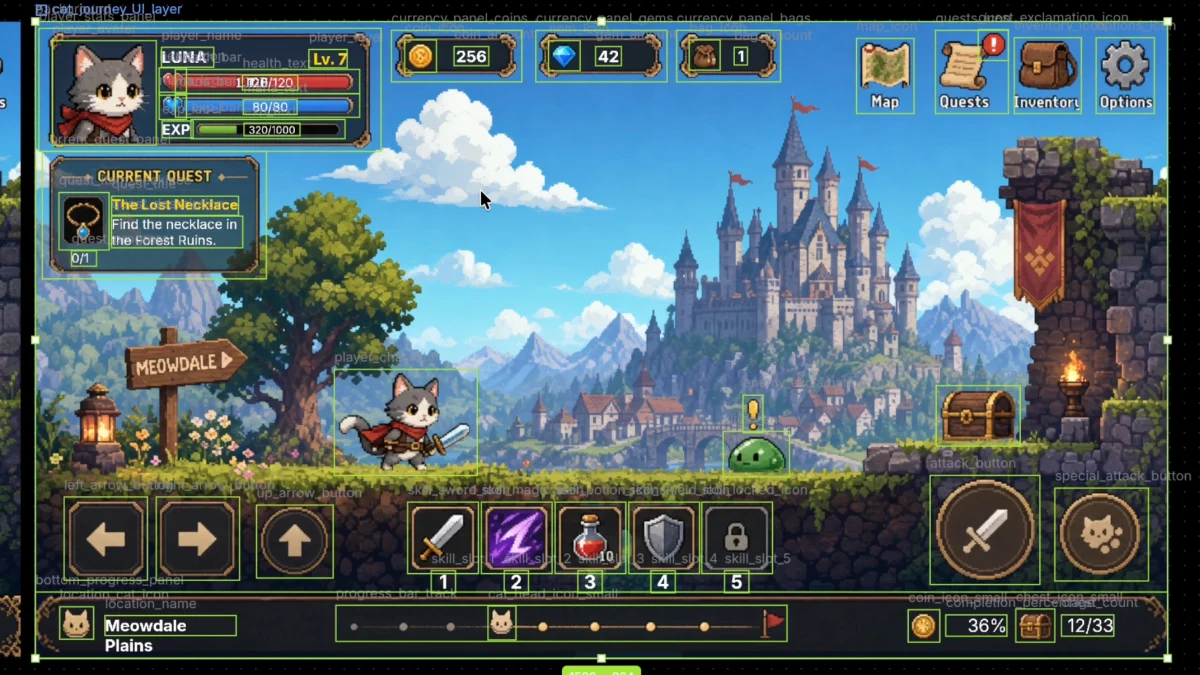
Step 2: Export to Photoshop PSD
Keep the layered board selected (here cat_journey_UI_layer, 1536×864). Open Image Export and choose Export to Photoshop PSD.
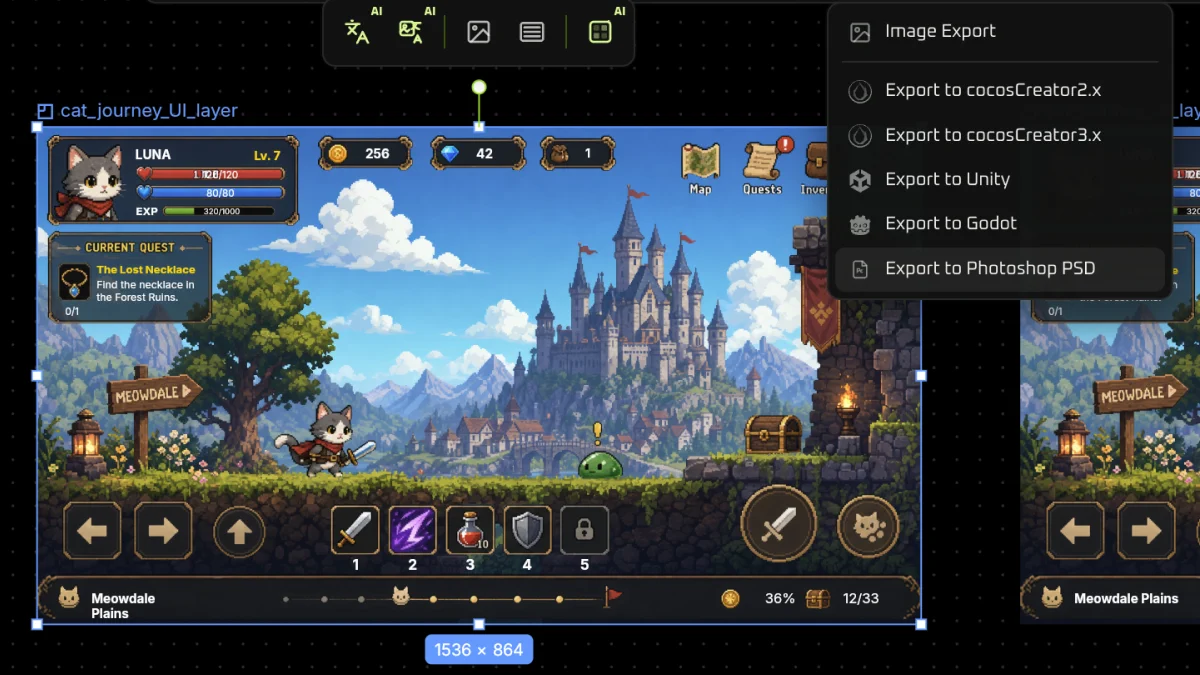
Step 3: Open the PSD
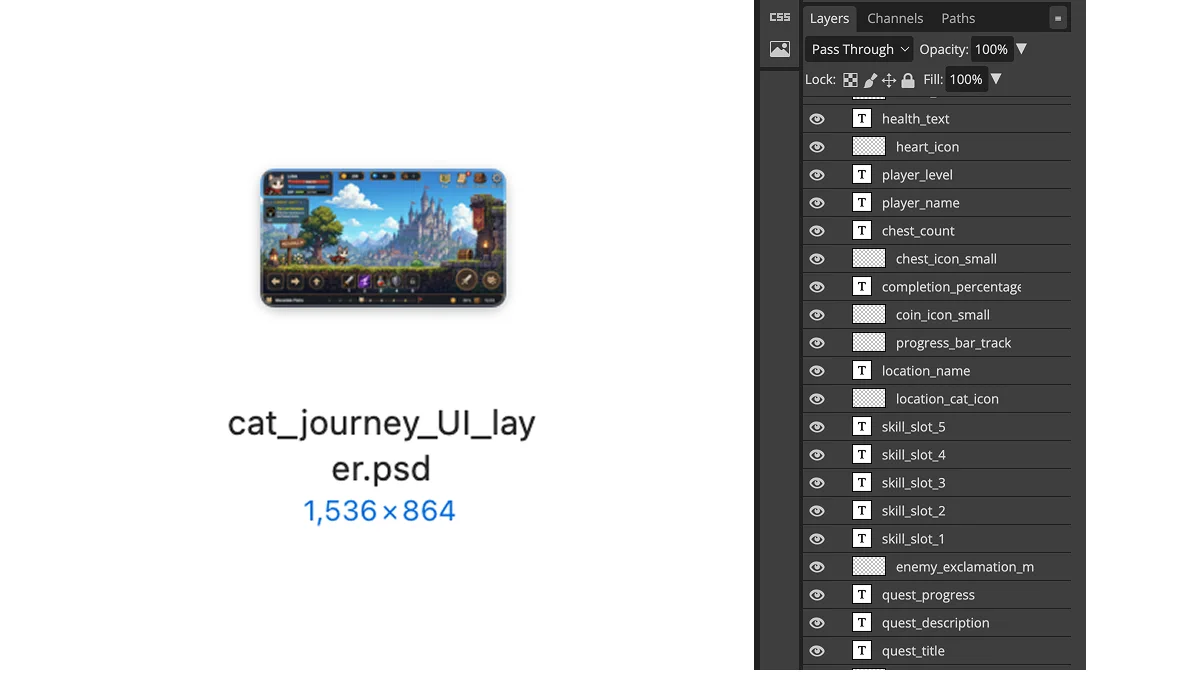
The file writes as {name}_layer.psd—for this board, cat_journey_UI_layer.psd. Photoshop lists named graphic and text layers (skill slots, currency icons, HUD labels) so each piece can move, hide, or restyle without recapturing the screen.
To send that file into Godot: PSD to Godot.