HD Upscale
Upscale a selected canvas image with AI HD Upscale—set redraw range, format, and magnification, then review the new layer.
TL;DR: 3 steps
HD Upscale fits bitmaps that need a larger pixel footprint and can tolerate some generative reinterpretation. Controls are redraw range, output format, and magnification; the run spends credits and places the result as a new layer to the right of the source. Dense game UI, baked-in text, and small icon grids are still weak spots—raising redraw range changes look more than it recovers crisp labels.
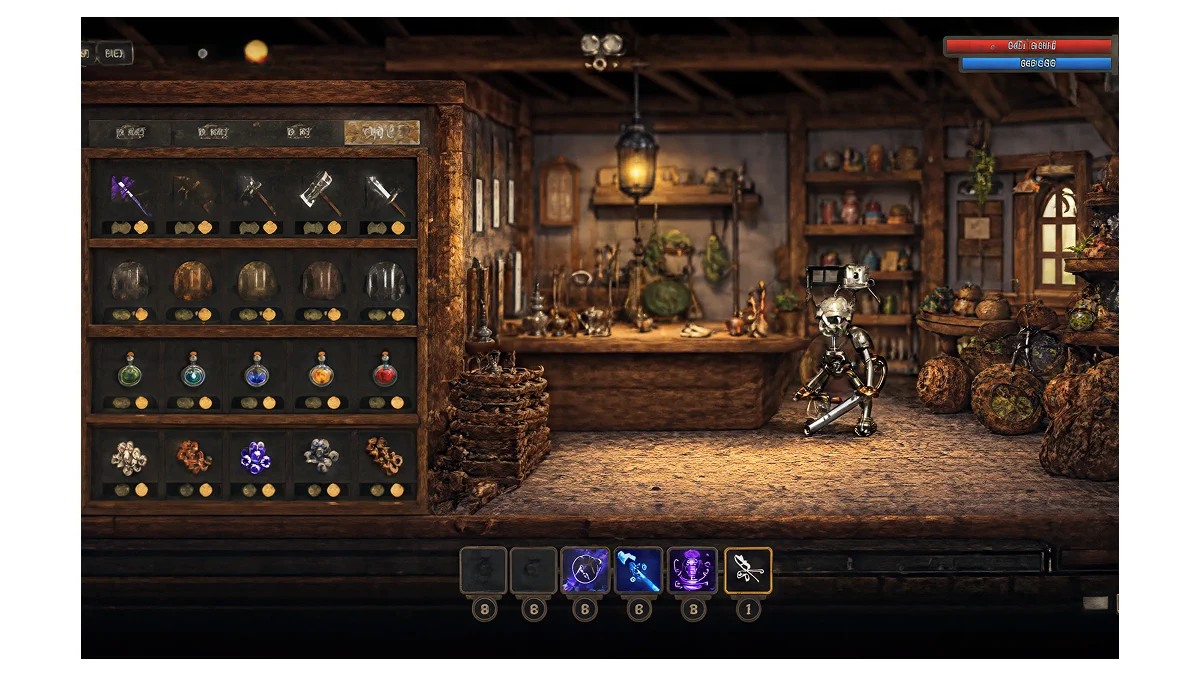
Source frame used in this walkthrough: a shop / inventory scene with HUD, item grid, and environment in one plate.
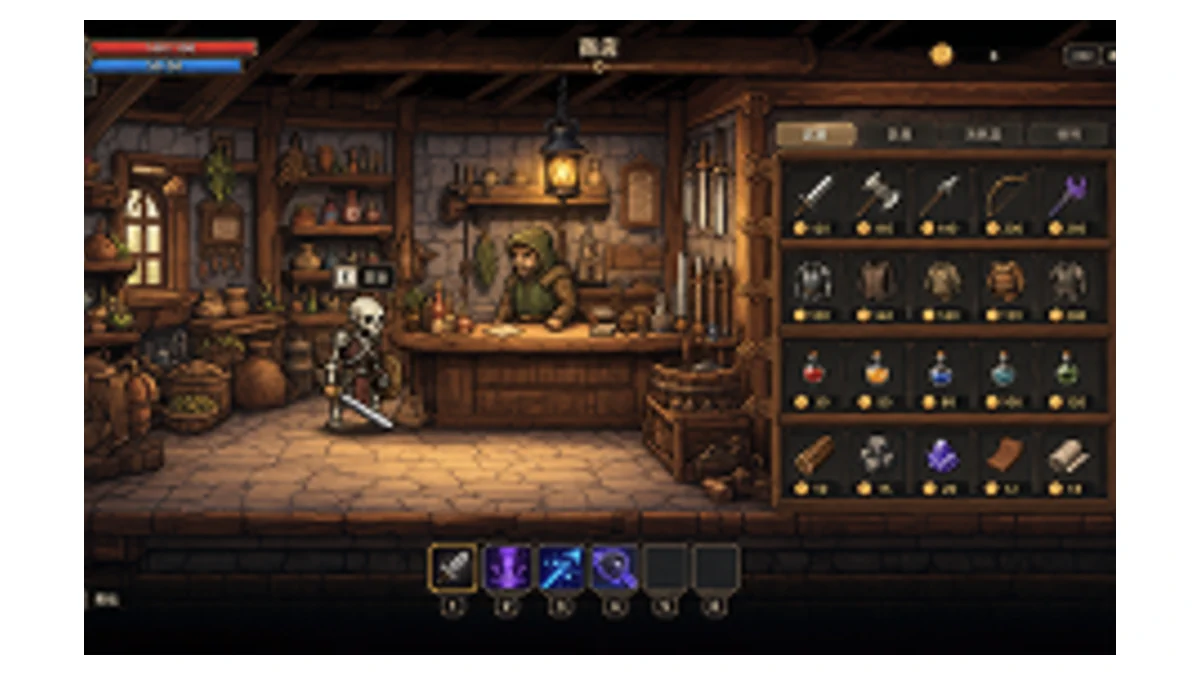
Step 1: Open HD Upscale on the selected image
Select the image on the canvas. Open AI tools, then choose HD Upscale.
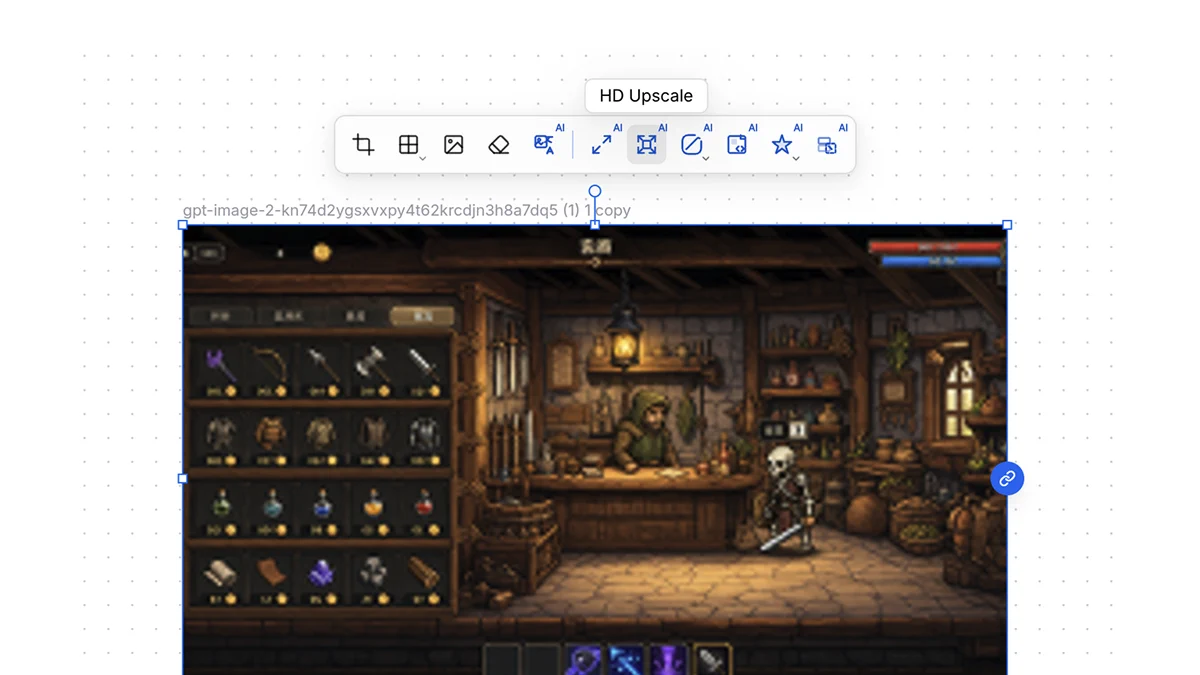
Step 2: Set redraw range, format, and magnification
The dialog shows original size versus the projected upscaled size. Adjust:
- Redraw range — how far the pass may regenerate detail (low keeps structure closer to the source; higher rewrites more)
- Output format — PNG, JPG, or WEBP
- Magnification — scale factor (for example ×2)
Credit cost appears before confirm. The upscaled plate lands as a new layer to the right of the original.
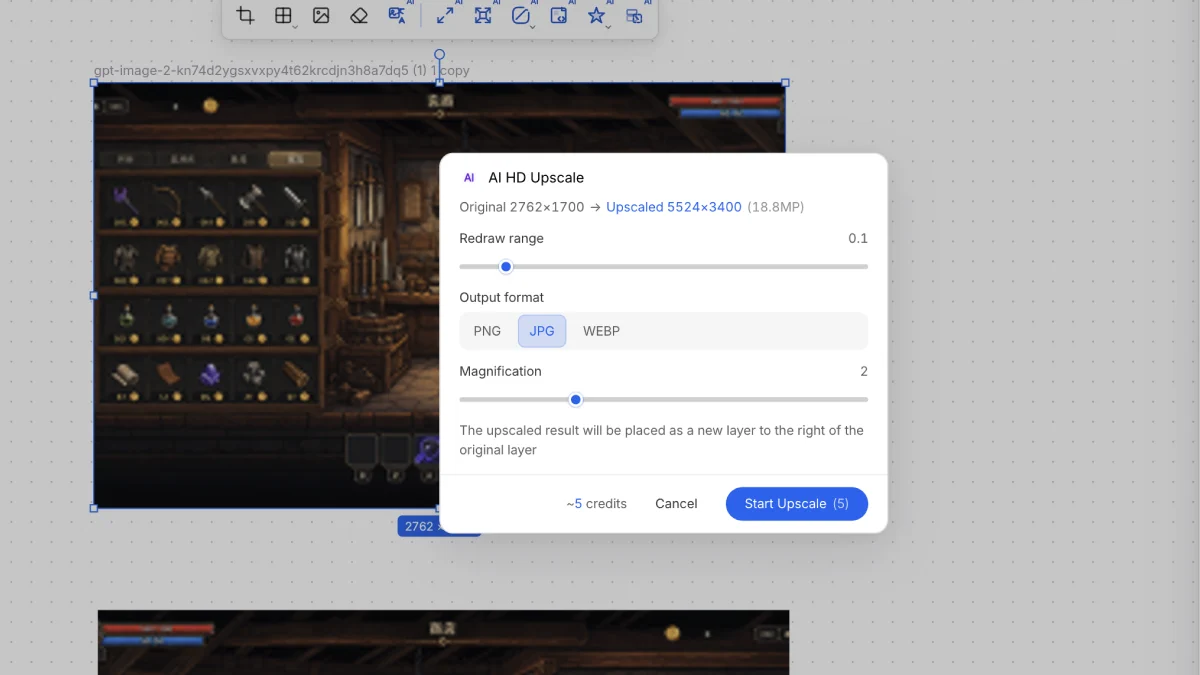
Step 3: Review the upscaled layer
After the run, compare the new layer to the source. On this shop UI plate, a low redraw setting enlarges the frame but leaves soft edges on small icons and on-screen text.
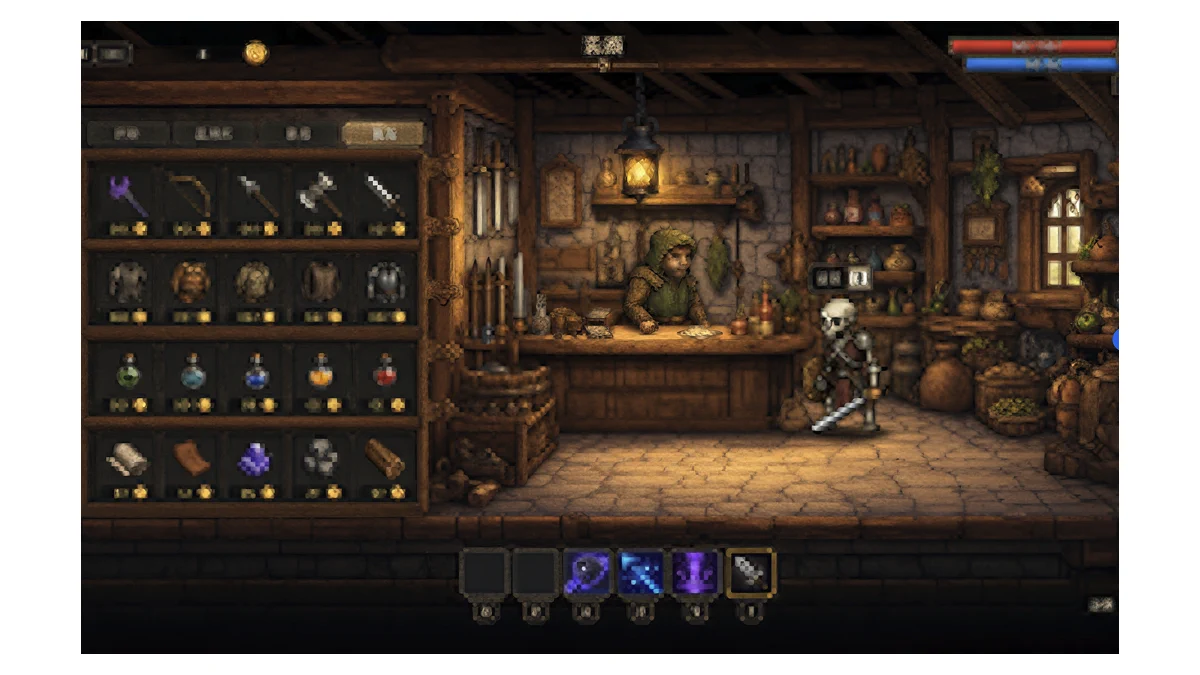
Pushing Redraw range higher (for example 0.6) spends more of the pass on regeneration. Layout and props can drift; labels and fine HUD marks often stay mushy or turn into noise rather than readable type.
Use HD Upscale when a larger export size matters more than pixel-perfect UI fidelity. For plates where inventory icons, status text, or pixel edges must stay exact, keep a lower redraw—or skip this path and scale only the layers that benefit from generative detail.