PSD to Unity
Import a layered PSD or PSB into VberAI Studio, run Auto Layering, then Export to Unity.
TL;DR: 6 steps
PSD to Unity fits a layered Photoshop file—PSD or PSB—that needs to land in Unity. VberAI Studio imports the design, then Auto Layering cuts named pieces from detected edges. Export to Unity writes those pieces into the engine.
A .fig instead: Figma to Unity. A flat PNG that still needs layers: PNG to PSD.
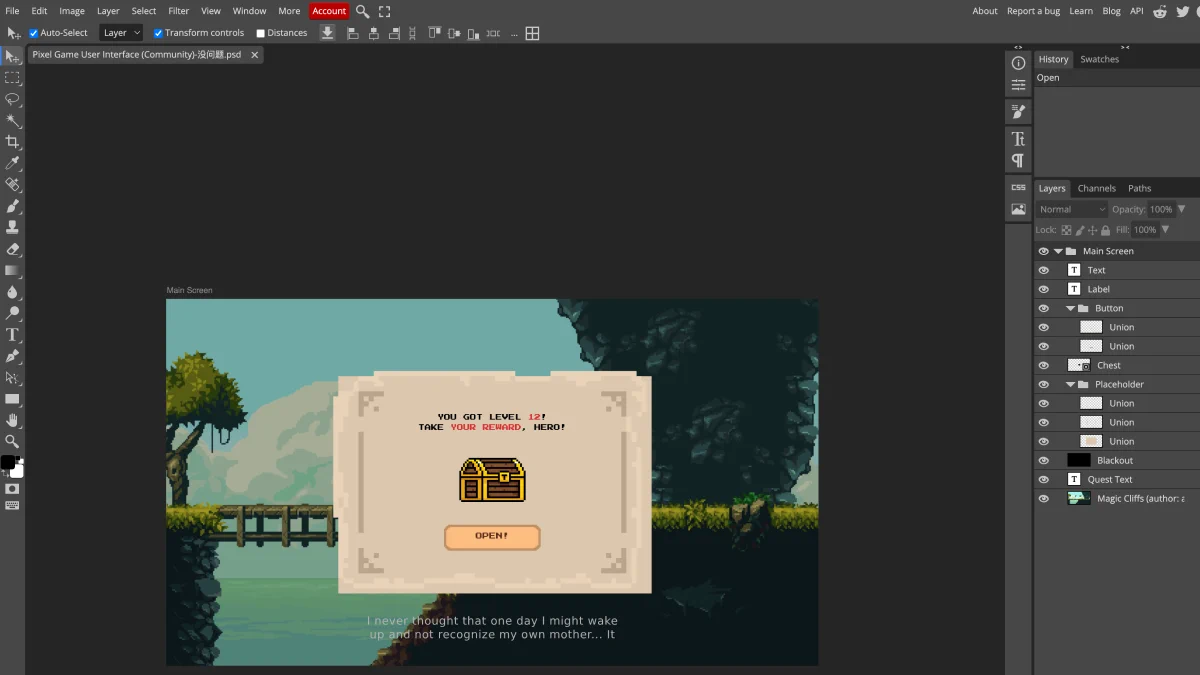
Step 1: Open the layered PSD
Keep named groups (frames, buttons, HUD bars). Those names carry through into Studio.
Step 2: Import PSD/PSB
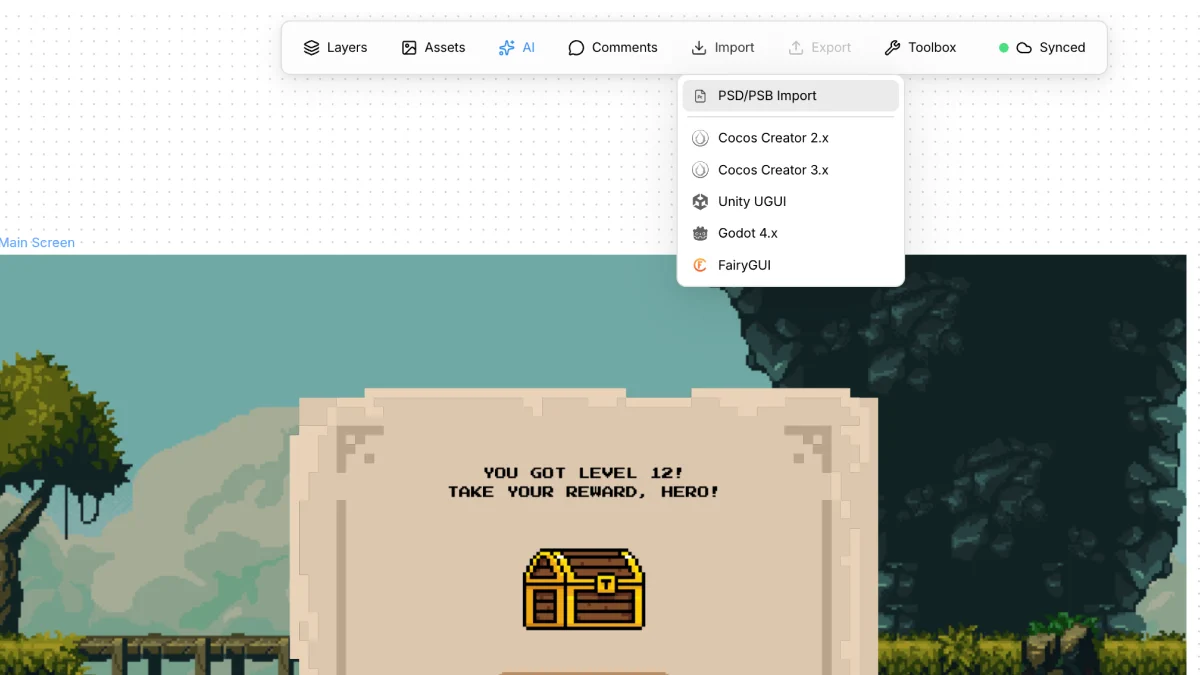
In Studio choose Import → PSD/PSB.
Step 3: Auto Layering
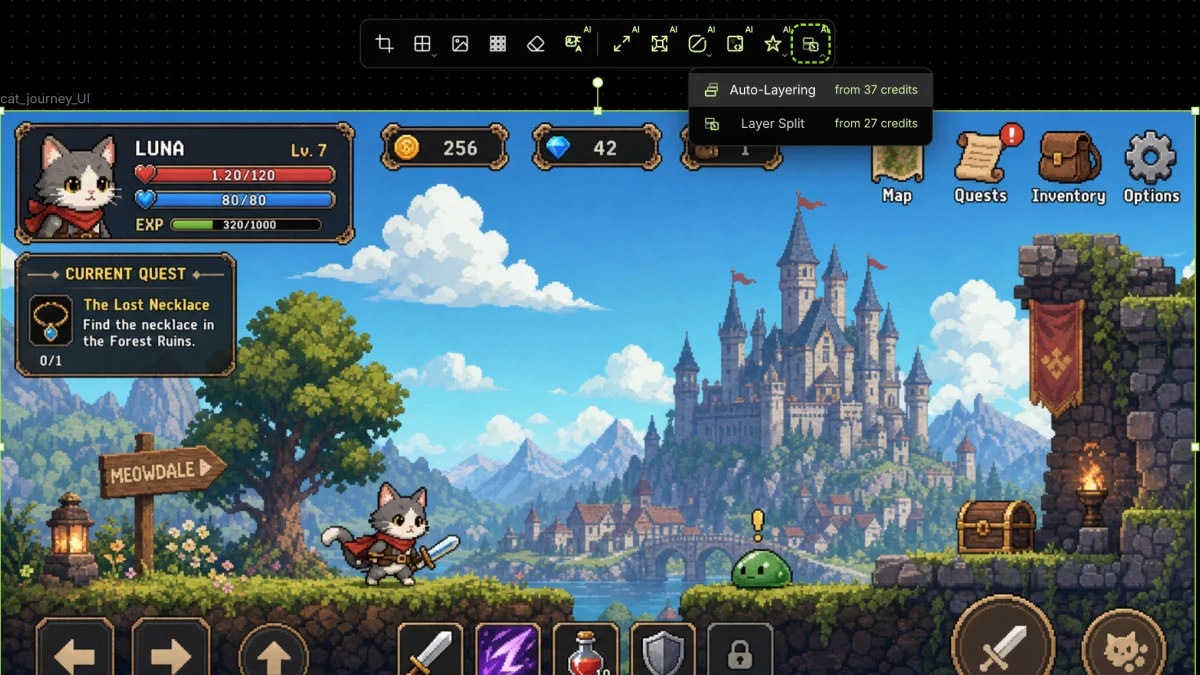
Select the board (for example cat_journey_UI). On the selection toolbar, open the overlapping-layers control and choose Auto-Layering.
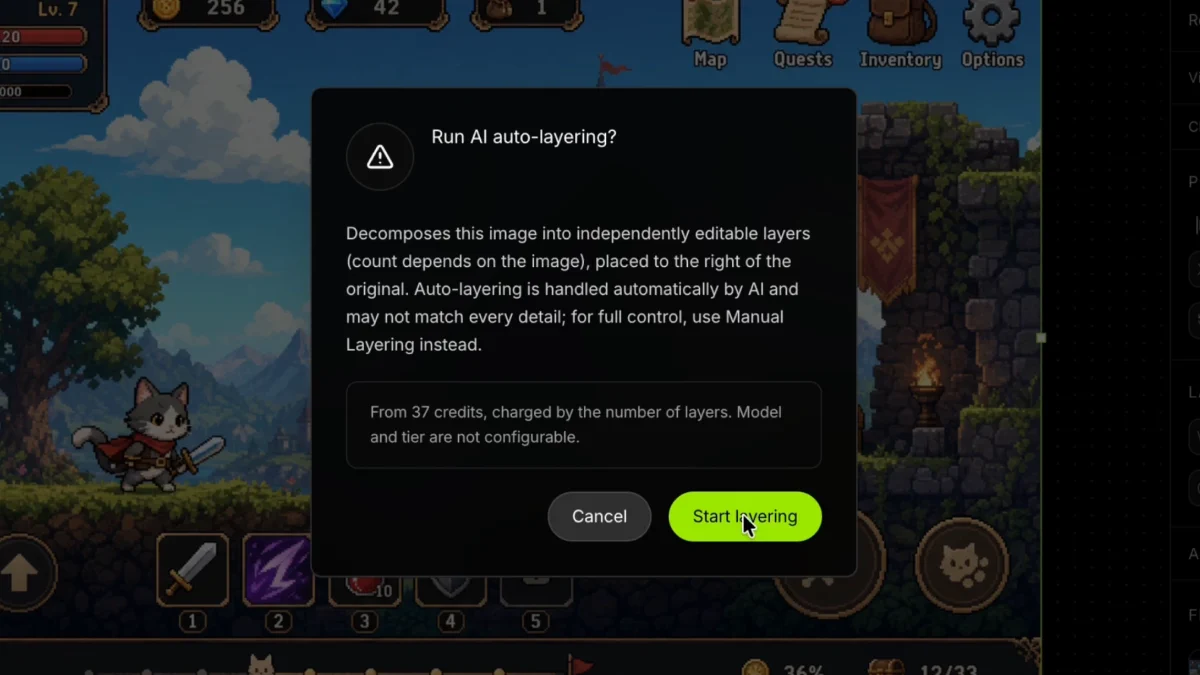
Confirm Run AI auto-layering? then Start layering.
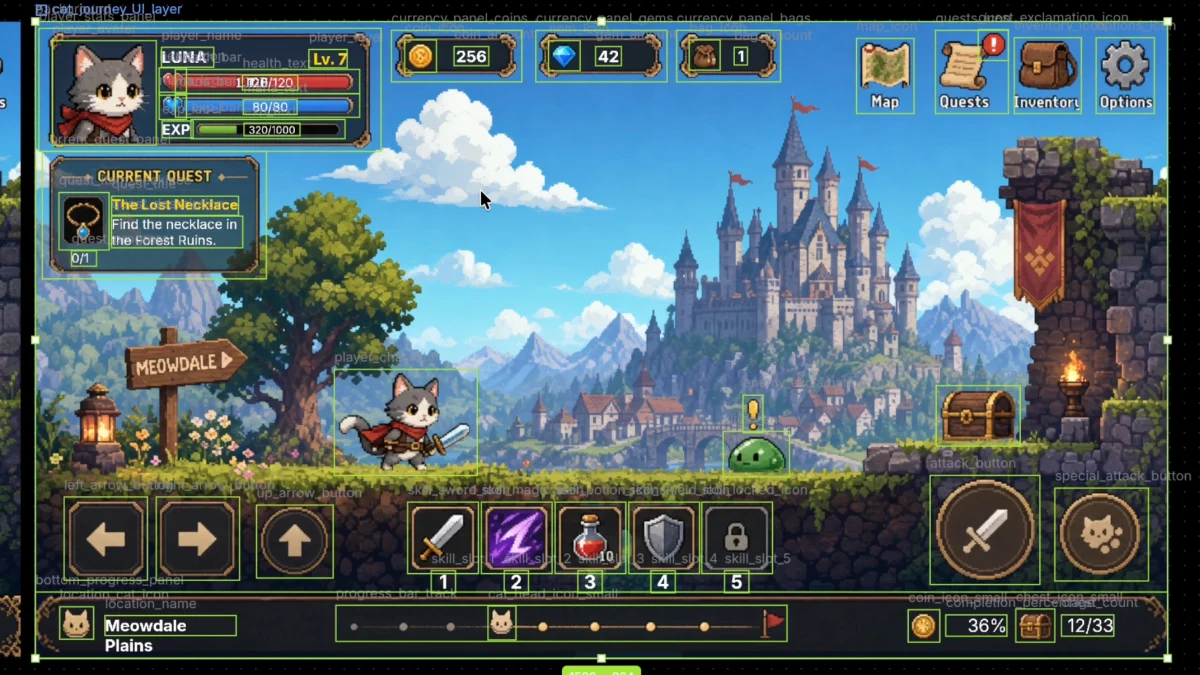
Named bounds land on the plate: the sliced, named images are ready. Details for this pass are on Auto Layering.
Step 4: Export to Unity
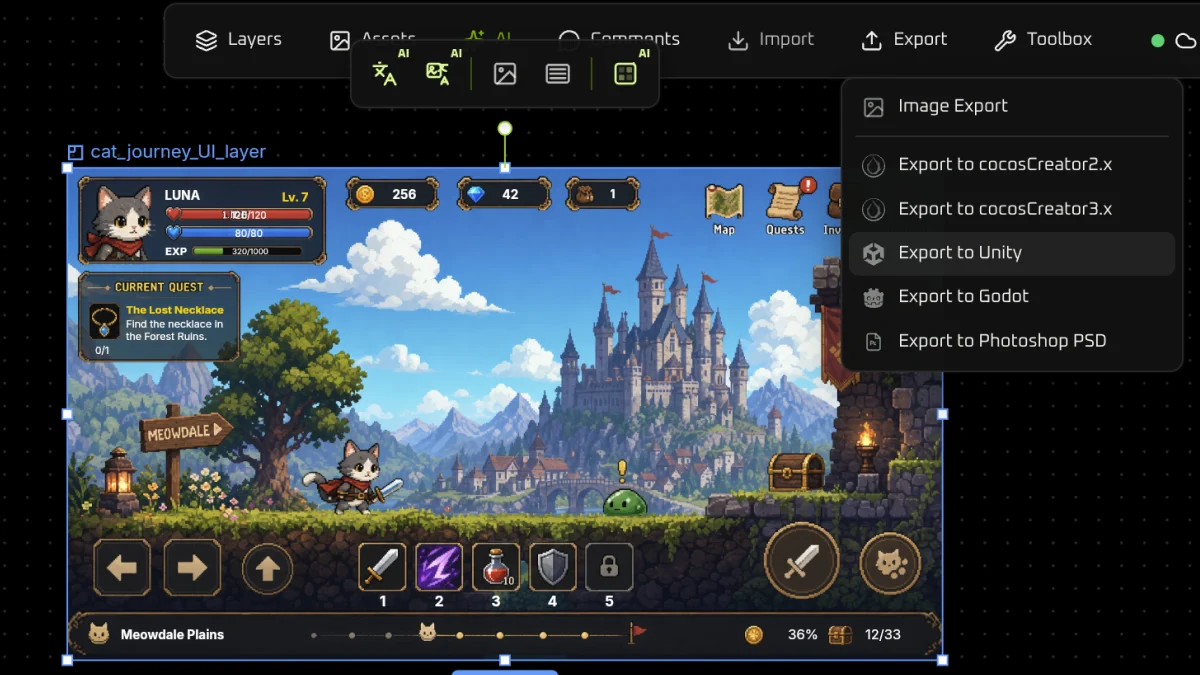
Keep the layered board selected (here cat_journey_UI_layer). Open Export and choose Export to Unity.
Step 5: Choose the Unity export form
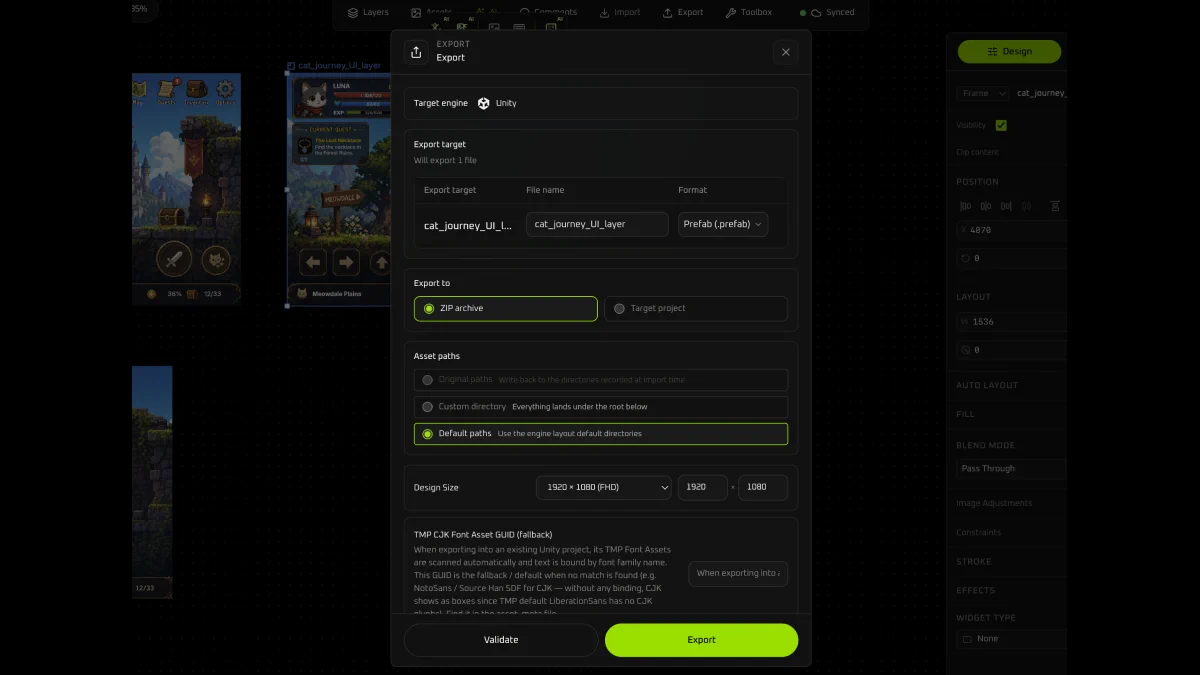
The dialog sets Target engine to Unity. Format can be Prefab (.prefab). Export to can be a ZIP archive, or write straight into the target project. Default paths uses the engine’s default directories.
Step 6: Check the output
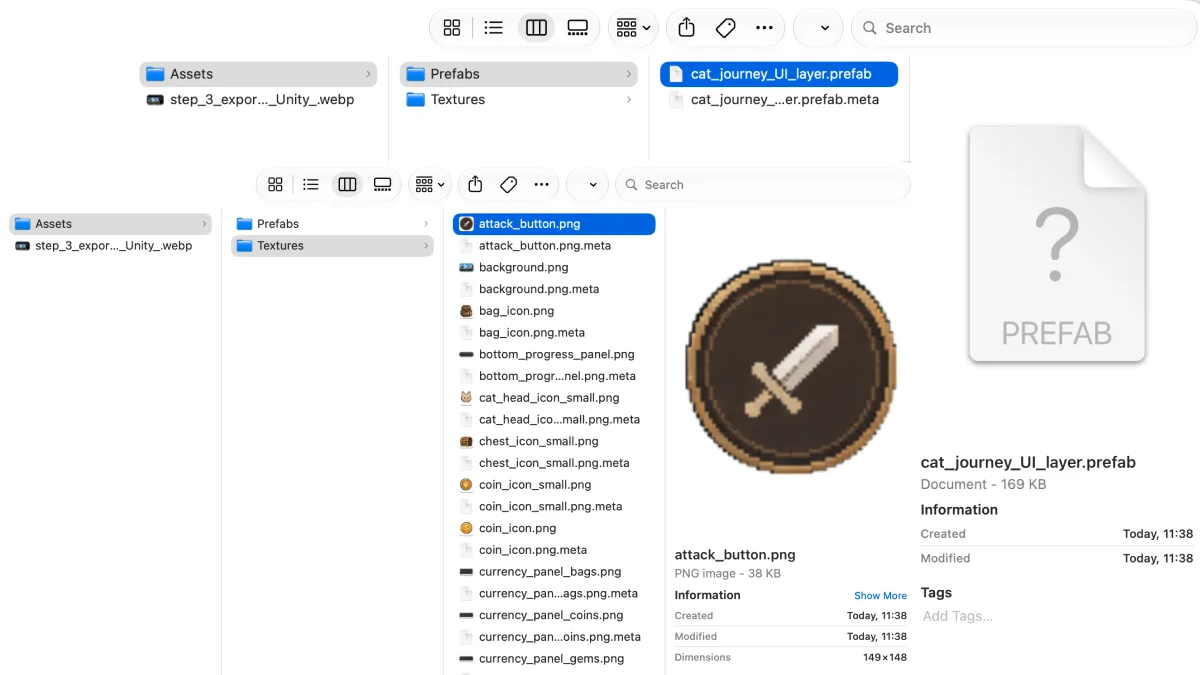
This pass used a ZIP archive. Unzip it and the root is Assets: Prefabs holds the Unity .prefab (assembled UI you can drop into a scene); Textures holds the sliced PNGs, named from the layers.